What Actually Makes a Custom Phone Case Design Work (And What Kills It)
Design decisions that look great on a phone screen mock-up have a brutal habit of falling apart the moment they hit an actual case. It happens constantly — someone uploads a high-contrast graphic, approves the preview, and then gets a finished product where the colors look muddy and the edges are clipped by the camera cutout. Not ideal.

So here’s what actually matters. Resolution is the unglamorous starting point: anything below 300 DPI at print size is going to look soft, especially on the glossy finishes that most custom phone cases use. And soft means cheap, even if the design itself is genuinely good. A lot of buyers don’t realize this until it’s too late.
- Keep critical design elements (faces, logos, fine text) at least 5mm away from case edges — cutouts are not always perfectly centered
- Use CMYK color profiles, not RGB, when submitting print files — the shift can be significant, especially with deep blues and purples
- Test your design on a flat template first, then on a 3D mockup — they will look different
- Avoid full-bleed white backgrounds on transparent or frosted cases — they rarely print the way you expect
Material choice is where things get interesting. If you’ve ever looked at something like the Explore the Benefits of Heavy-Duty Armor category in any protective case lineup, you’ll notice that the texture and finish of the case body directly affects how printed designs adhere and age. Matte TPU holds ink differently than polycarbonate. That’s just physics.
But here’s the thing nobody talks about enough: structural design matters as much as visual design. The Ultimate Protection: Exploring the Advantages of a well-engineered case means nothing if your custom print cracks at the corners after six weeks because the substrate was wrong for the printing method used. Samsung Galaxy Tablet Cases: Protecting Your device is one thing — making the protection last is another.
Suppliers who actually understand print-on-material production — the kind of detail-oriented sourcing work that companies like Shuowei bring to custom orders — will flag these issues before production, not after. Elevating Outdoor Adventures: Unparalleled Benefits of a rugged custom case only applies if the customization holds up to the same conditions as the case itself. Worth asking about upfront (seriously, just ask).
Bleed zones, safe areas, and why your design looks different on the case
So here’s something that trips up almost everyone ordering custom phone cases for the first time: what you see on your screen is not what gets printed on the case. Not even close, sometimes. The file looks perfect at 100% zoom, colors are punchy, the logo sits right in the center — and then the physical case arrives and half the design is wrapped around the edge or the camera cutout is eating into your artwork.
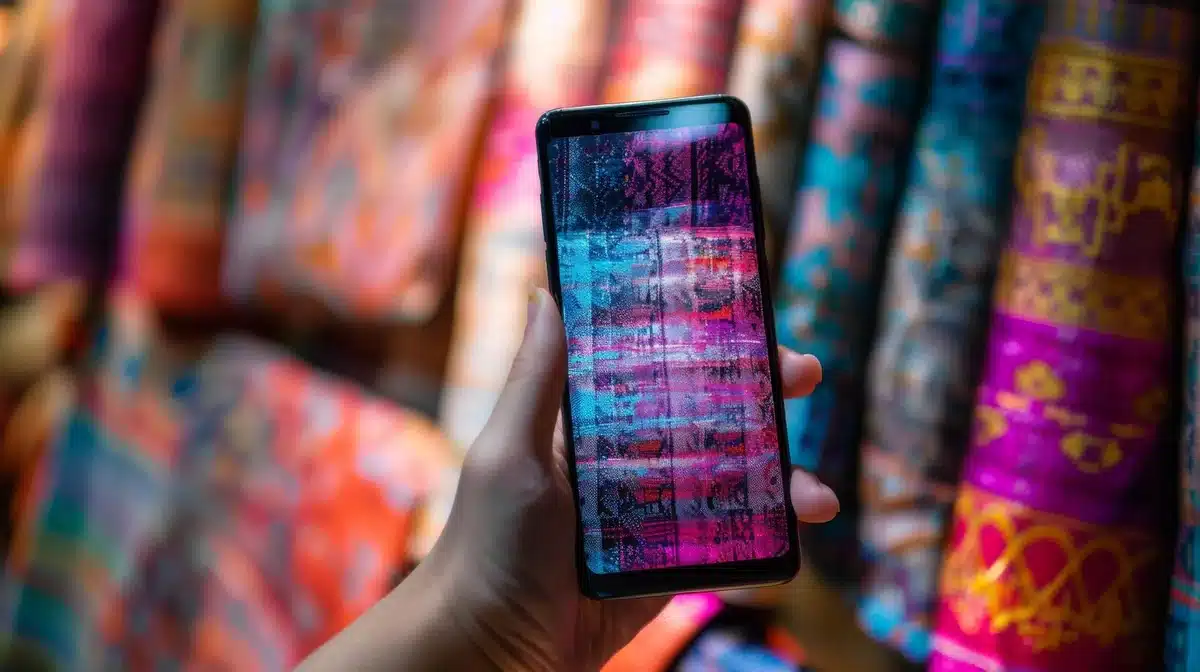
This is a bleed and safe zone problem. Bleed is the extra artwork (typically 2–3mm) that extends beyond the intended print boundary, so there are no white gaps if the print shifts slightly during production. The safe area is the opposite — it’s the inner zone where your critical elements absolutely must stay, away from edges, cutouts, and button channels. Ignore either one and you’re gambling with the final result.
Not great. Not terrible either. Just… fixable — if you know about it before you send the file.
The thing is, phone case surfaces aren’t flat (this is obvious when you hold one, less obvious when you’re staring at a template on a monitor). The spine curves. The corners wrap. A design that looks centered on a 2D mockup can drift noticeably once it’s printed onto a three-dimensional object and heat-pressed or UV-cured into place. Samsung Galaxy Tablet Cases: Protecting Your device follows the same logic at a larger scale — more surface area means more opportunity for misalignment if the template isn’t set up correctly.
And the cutouts make everything worse. Camera bumps, speaker grilles, side buttons — each one is a hard boundary your artwork has to work around. Suppliers who understand this — the kind of sourcing-side detail flagged by companies positioning themselves as the best supplier of production-ready custom orders — will provide print-ready templates with all cutouts marked. Use them. Don’t eyeball it.
- Always design 3mm of bleed outside the trim line
- Keep logos and text at least 5mm from any edge or cutout
- Use the supplier’s actual template, not a generic one you found online
- Proof the design on a 3D mockup, not just a flat preview
Explore the Benefits of Heavy-Duty Armor cases and you’ll notice the print area is actually smaller relative to case size — more edge coverage means tighter safe zones. Worth knowing upfront.
The file format and resolution mistakes that ruin print quality
JPEGs will betray you. That’s not hyperbole — it’s the single most common reason custom phone cases come back from production looking soft, muddy, or weirdly pixelated around the edges of logos. The format compresses data every time you save it, and most people don’t realize how much detail is quietly getting destroyed through three or four re-saves across different apps.
So here’s the baseline that actually matters: your artwork should be a flattened TIFF or a print-optimized PDF, set to 300 DPI at the exact physical dimensions of the case template. Not 72 DPI — that’s screen resolution, completely useless for print. Not 150 DPI, which sounds like it’s probably fine but really isn’t once the UV or sublimation process magnifies every soft edge. 300 DPI minimum. Some suppliers printing on specialty textures will ask for 350. If you’ve seen display materials from events like Shuowei Technology Participated in HK Global trade shows, the print quality on those product samples is noticeably sharper than what most people get from consumer-grade upload tools — and file resolution is a big part of why.
RGB vs CMYK is where things get quietly catastrophic. Screens display in RGB. Printers — at least most industrial ones used for custom phone cases — output in CMYK. A vivid electric blue in RGB can shift noticeably toward purple or teal once converted. Not dramatically. Just enough to ruin it.
And vector files, if your design includes text or a logo? Use them. EPS or AI formats scale without any quality loss whatsoever, which matters more than people expect when a design gets repositioned to fit a different case model — say, moving artwork from a slim case to something bulkier like The Ultimate Protection: Exploring the Advantages of heavy-duty builds, where the print panel dimensions change entirely.
- Submit TIFF or print-PDF, not JPEG or PNG exports from Canva
- Set resolution to 300 DPI at actual case dimensions, not screen size
- Convert RGB to CMYK before uploading — don’t rely on the printer to do it
- Use vector formats for any text, logos, or line art
- Check color profiles: sRGB and Adobe RGB render differently even on the same monitor
One more thing people skip: embed your fonts. Outlined text in a PDF avoids the whole missing-font disaster (and yes, it still happens in 2026).
Choosing the Right Case Style for Your Custom Design
Case style is where most people make their first wrong turn — not because they pick something ugly, but because they pick something that fights their design instead of showing it off.
So here’s the honest breakdown. Slim cases (usually 1.2–2mm TPU) give you the most printable surface area, which means edge-to-edge artwork actually looks like edge-to-edge artwork. Bulkier builds compress that canvas. If you’ve seen what happens when a design gets repositioned to fit something in the Explore the Benefits of Heavy-Duty Armor category — raised bumpers, reinforced corners, grip textures — you’ll know the print panel shrinks fast. Your carefully centered design suddenly has a chunk missing behind a rubber lip.
Not every case style suits every design. Full stop.
| Case Style | Print Area | Best For | Watch Out For |
|---|---|---|---|
| Slim TPU | Large, flat, uninterrupted | Bold artwork, photography, gradients | Minimal drop protection |
| Hard Shell (PC) | Flat back, clean edges | Line art, logos, text-heavy designs | Gloss finish can wash out pastels |
| Wallet/Folio | Split or inset panel only | Minimal, centered motifs | Artwork gets bisected at the fold |
| Heavy-Duty Rugged | Reduced — frame eats real estate | Simple icons, bold single-color graphics | Complex designs look cluttered |
And if you’re designing for a tablet rather than a phone, the stakes are even higher — Samsung Galaxy Tablet Cases: Protecting Your device means dealing with a much wider aspect ratio, and artwork that looks balanced on a phone mockup can feel weirdly stretched at 10.5 inches diagonal.
Suppliers who handle custom phone cases at scale — the kind where Shuowei Technology Participated in HK Global sourcing events to connect with international buyers — will tell you that case model selection is something buyers consistently underestimate. The design file matters, obviously. But so does picking a form factor that actually fits the lifestyle the case is meant for. Someone ordering rugged builds for outdoor use (think Elevating Outdoor Adventures: Unparalleled Benefits of protective gear) needs a completely different template than someone after a slim everyday carry. The Ultimate Protection: Exploring the Advantages of dual-layer construction is genuinely useful — just not for every design or every buyer. Our Company Introduction! Best Supplier of custom cases will always ask what you’re protecting against before recommending a style. That question matters more than most people expect.
Conclusion
The form factor question is the one most people skip — and it’s the one that actually determines whether a design lands or looks like it got stretched over the wrong mold.
Custom phone cases are worth the effort when the decisions behind them are intentional: right model, right construction style, right use case. Get those three aligned and the design takes care of itself. Miss even one and you’re just putting a pretty graphic on a product that doesn’t quite work.
So before you finalize anything — ask what the case needs to survive. That answer should drive everything else.
Frequently Asked Questions
Q: How much do custom phone cases typically cost?
A: For a single unit, you’re usually looking at $15–$40 depending on the case style and print method — hard shell snap cases sit at the lower end, while dual-layer or leather-finish options push higher. Bulk orders drop that per-unit cost significantly, which is why small businesses ordering branded cases almost always go that route.
Q: What’s the minimum order quantity for custom phone cases?
A: Most print-on-demand services (Printful, Printify) let you order a single case, which is great for personal use. Suppliers who do true OEM customization — custom molds, special materials, branded packaging — will usually want at least 50–100 units to make it worthwhile for everyone involved.
Q: How long does it take to get custom phone cases made and delivered?
A: Print-on-demand orders typically ship within 3–7 business days. Factory-produced custom cases with specific materials or branding can take 2–4 weeks for production alone, so build that into your timeline if there’s a deadline involved — events, product launches, that kind of thing.
Q: Why do custom phone cases sometimes look different from the design mockup?
A: Color shift is the most common culprit. Screen colors use RGB values; print processes use CMYK, and the conversion isn’t always clean. Reds tend to go dull, neons nearly always disappoint. Submit your artwork in CMYK at 300 DPI and ask your supplier for a physical sample before committing to a full run — that step alone saves a lot of frustration.
Q: Can I put a custom design on any phone model?
A: Realistically, no. Suppliers work from pre-made molds, and those molds exist for popular models — iPhones, Samsung Galaxy S-series, Google Pixel. Older or niche Android models are hit or miss. If you’re designing custom phone cases for a specific device, confirm the mold availability before you finalize anything; stretching a design to fit the wrong template is exactly how you end up with a camera cutout in the wrong corner.
Q: Is it worth ordering custom phone cases in bulk for a small business?
A: If you’re selling them or using them as branded merchandise, bulk almost always makes sense — the per-unit cost difference between 10 units and 100 units can be 40–60%. The risk is betting on a single phone model staying popular long enough to sell through your inventory, which is a real consideration given how fast new devices drop.
Q: What file format should I use when submitting artwork for custom phone cases?
A: Vector files (AI or PDF) are the gold standard because they scale without losing quality. If you’re working with a photo-based design, a high-resolution PNG at 300 DPI is the next best option. Avoid JPEG for anything with fine text or sharp edges — the compression artifacts will show up in print, especially on dark backgrounds.
Q: How do I know if a supplier’s custom phone cases are actually good quality?
A: Ask for a sample before you commit — any supplier worth working with will offer that. Look at the print edges near the camera cutout and buttons, because that’s where shortcuts show up first. A good supplier will also ask about your use case upfront (daily carry? outdoor use? resale?) rather than just taking your artwork and running it.