
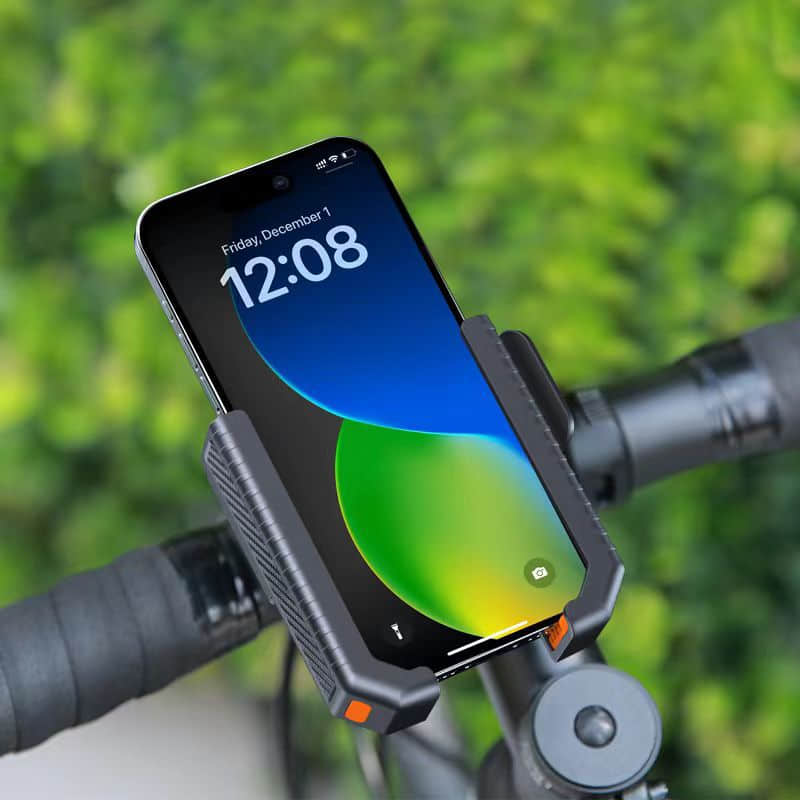

Why Off-Road Bicycle Mounts Need to Handle More Than Just Vibration
I learned this the hard way on a gravel trail outside Boulder last spring — my phone flew off the handlebars at mile 8, screen-first into a rock. The mount? Still attached to the bike. The clamp? Totally fine. But the grip had loosened just enough from two hours of sustained vibration mixed with a few jarring hits that my phone basically ejected itself mid-ride.
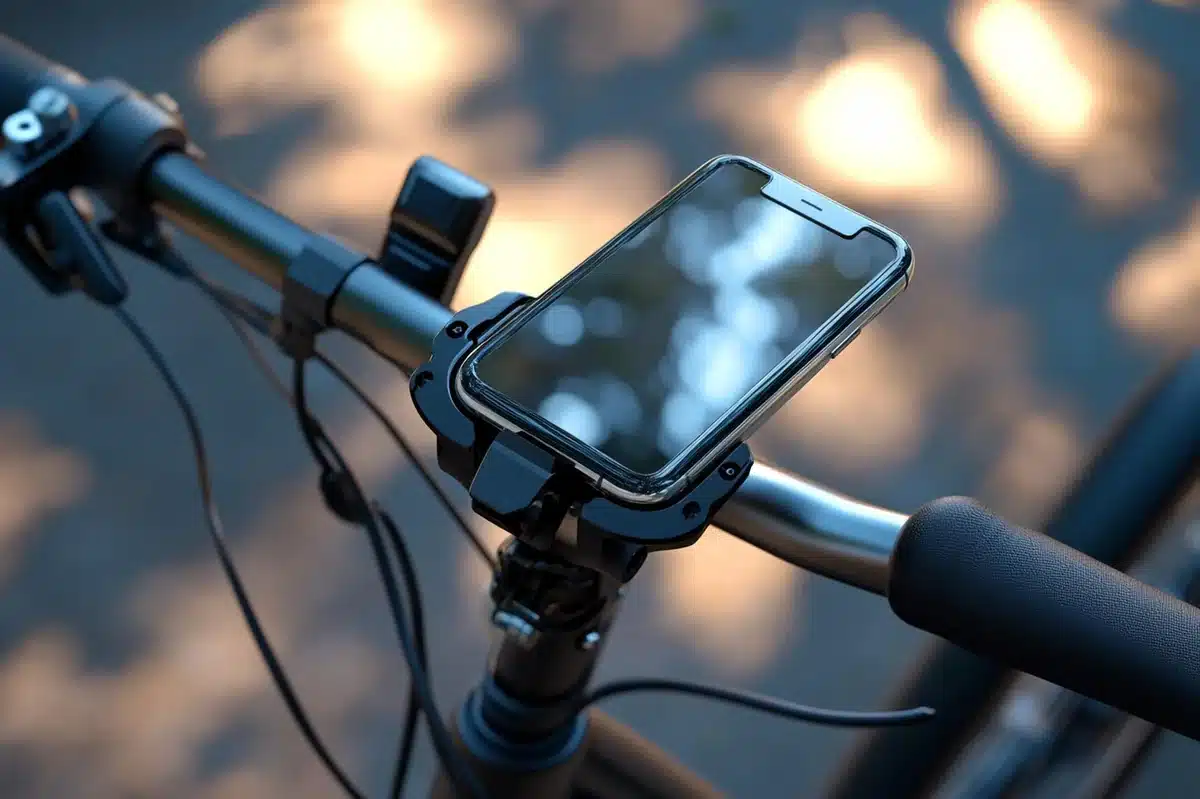
Here’s what nobody tells you about off-road bicycle mounts: vibration is honestly the least of your problems. Sure, it’s annoying when your screen blurs during a rough descent. But what actually kills your setup — and maybe your phone — is the combination of forces hitting it all at once.
Temperature swings mess with materials. That rigid plastic clamp that felt bulletproof in your garage? It gets brittle at 35°F and soft at 95°F. And if you’re riding through varying elevations or starting at dawn, you’re cycling through both extremes in a single outing. The mount expands, contracts, and gradually loses its death grip on your device.
Then there’s torque. Every time you brake hard or yank the handlebars to avoid a root, you’re creating lateral force that tries to twist the mount clockwise or counterclockwise. A durable bike phone holder has to resist that rotational stress without loosening over time — because if it shifts even two degrees per ride, you’re looking at a 20-degree tilt by week three.
Moisture is the silent killer. I’m not talking about getting caught in a downpour (though that sucks too). I mean the sweat dripping off your hands, the humidity trapped between the mount and your phone case, the condensation that forms when you go from cold morning air into direct sunlight. Water finds its way into friction points and either corrodes metal components or creates a slick layer that undermines grip strength.
So when you’re evaluating any off-road bicycle mount, ask yourself: does this thing account for thermal expansion, rotational torque, and moisture intrusion? Or does it just claim to be “shock-resistant” and call it a day?
Because shock resistance alone won’t save your phone when three other forces are working against you simultaneously.
What Makes a Bicycle Phone Holder Actually Durable for Rough Terrain
I destroyed four phone holders in six months before I figured out what actually matters.
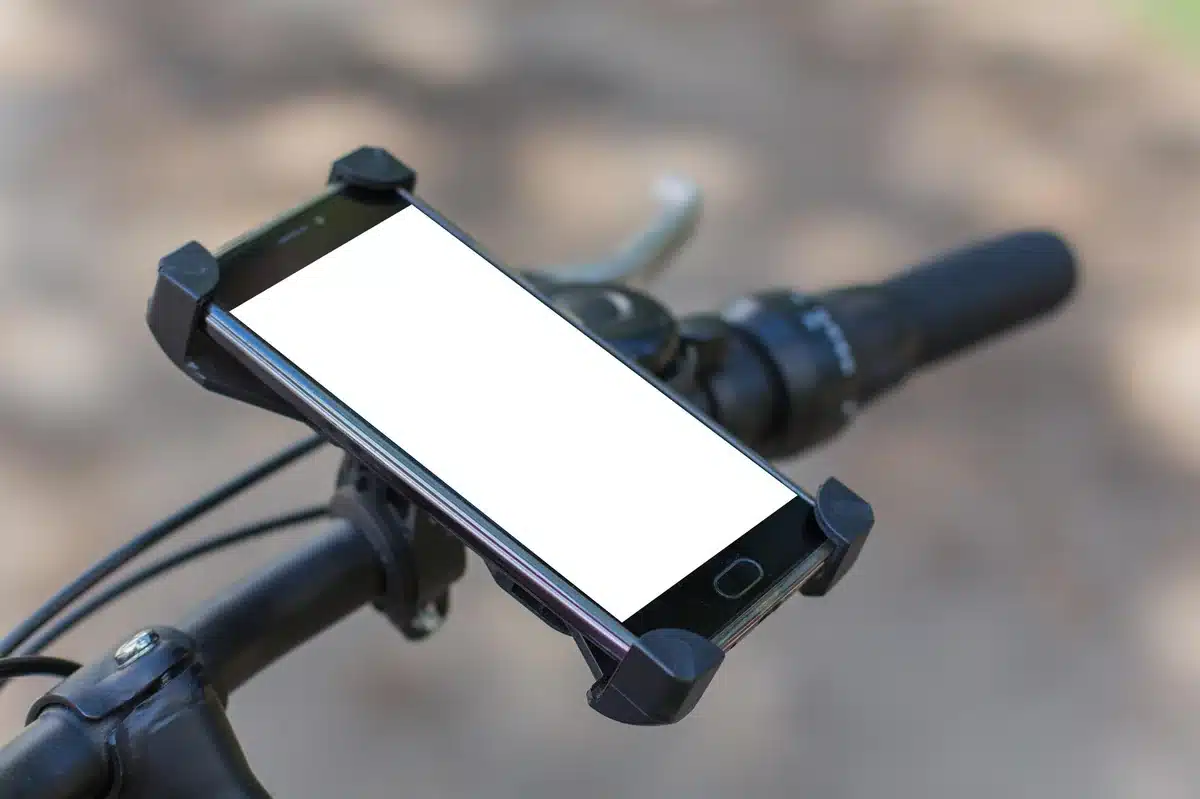
Here’s the thing nobody tells you: the mount that survives isn’t the one with the thickest plastic or the most rubber padding. It’s the one designed around three failure modes that happen simultaneously on rough terrain — and most manufacturers only address one of them.
First failure mode: grip degradation under vibration. Your phone doesn’t fly off because of one big bump. It loosens incrementally. Every rock, root, and washboard section creates micro-movements that work the clamp arms outward by fractions of a millimeter. Over 45 minutes on a gravel descent, those fractions add up. The best off-road bicycle mount systems use a ratcheting mechanism or spring-loaded tension that compensates for this creep — they actually tighten under vibration instead of loosening.
Second: the mounting interface itself. I’ve seen $60 holders with bomber phone retention completely fail because the ball joint connecting them to the handlebars gave out. Plastic ball joints are trash for anything rougher than bike paths. You need either a metal ball with a locking collar or (better) a two-bolt clamp system that distributes stress across multiple contact points. Single-bolt mounts create a pivot point that amplifies every impact.
And third — this one’s subtle but critical — material memory under temperature cycling. A truly durable bike phone holder maintains its clamping force whether it’s 35°F in the morning or 85°F by noon. Cheap thermoplastics get brittle when cold and go soft in heat. You want either glass-filled nylon (which sounds fancy but just means they added fibers for rigidity) or a silicone-over-rigid-core design where the soft part grips and the hard part maintains structure.
One more thing: check if the clamp arms are replaceable. Because they will wear out eventually — that’s physics, not a defect. The $45 mount where you can swap worn clamps for $8 beats the $30 mount you throw away entirely.
Best Phone Mount Features for Mountain Biking and Trail Riding
OK so here’s what actually matters when you’re picking through mount options for trail riding: the features that sound cool in product descriptions versus the ones that keep your phone attached when you’re rattling down a rocky descent at 22 mph.
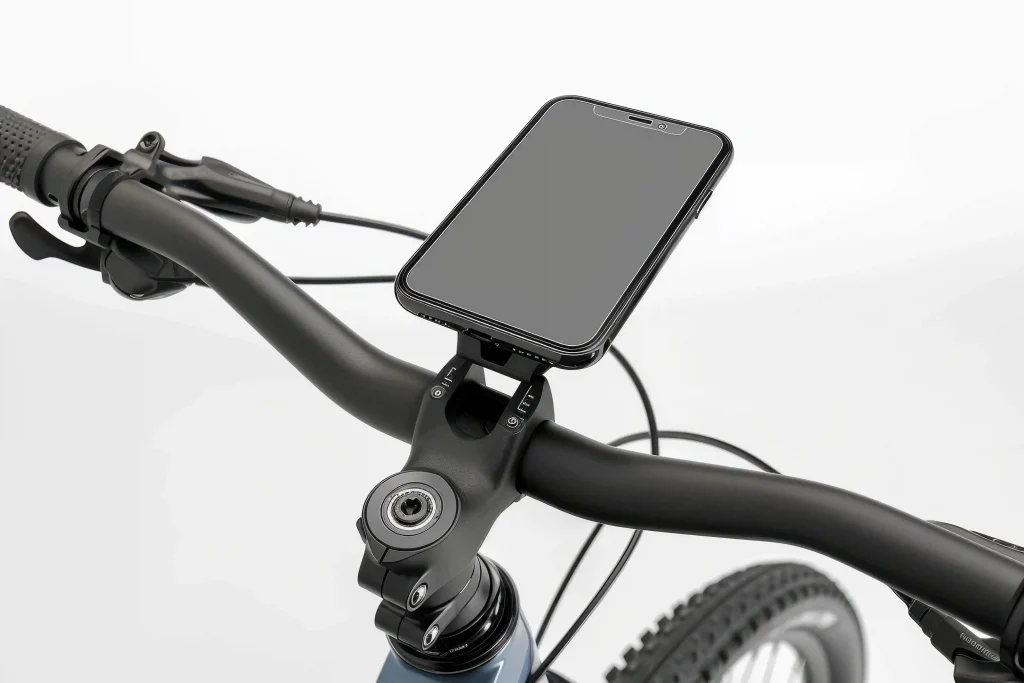
Shock absorption is non-negotiable. And I don’t mean “rubberized grips” — I mean actual dampening between the mount and your phone. The best systems use a two-layer approach: a rigid frame bolted to your bars, then a floating cradle that holds your phone with some give. Think of it like suspension for your device. Without this, every root strike transfers directly into your phone’s logic board. Not ideal.
Quick-release mechanisms — this is where manufacturers get fancy and often screw up. You want tool-free removal (obviously), but the latch needs to be recessed or guarded. I’ve seen twist-lock designs pop open mid-ride because a branch caught the release tab. The better off-road bicycle mount options use a sliding lock that sits flush or requires a two-step motion. Slightly less convenient when you’re parking at the trailhead? Sure. But your phone stays put when things get sketchy.
Weatherproofing matters more than you think. Even if you’re not riding in rain, trail dust is insanely invasive — it gets into charging ports, speaker grills, everything. A durable bike phone holder for mountain use should have either a sealed case design or at least a rain cover that doesn’t block your screen. The hybrid approach works best: open-face for dry days, snap-on cover in your pack for when clouds roll in.
Adjustability in two planes: tilt and rotation. You need to angle that screen away from glare, and depending on your bar setup (flat bars versus risers), the optimal viewing angle changes. Mounts that only swivel left-right are basically useless once you’re climbing in morning sun.
One feature nobody talks about enough — anti-theft. Some mounts use proprietary hardware or keyed releases. Worth considering if you’re stopping at a brewery mid-ride (guilty) and leaving your bike outside for twenty minutes.
How to Pick a Bike Phone Holder That Won’t Fail on Gravel and Rock
I’ve watched three different mounts eject phones on the same downhill section of trail near Moab — two Quad Locks and a cheap Amazon clamp thing. All three riders swore their setup was bombproof. So here’s what actually separates mounts that survive technical terrain from the ones that don’t.
First thing: ignore the marketing photos of phones mounted to road bikes on smooth pavement. That tells you nothing. What you need is an off-road bicycle mount that’s been tested on actual chunky trails, not bike paths. The difference comes down to three factors working together — not one magic feature.
Vibration dampening matters way more than people think. Without it, your phone rattles itself loose over washboard sections. The better mounts use rubber isolation between the clamp and the phone cradle (sometimes called a “floating” design). It looks like overengineering until you’re descending rocky singletrack at 25mph and your screen isn’t a blurry mess.
Redundant retention. This is non-negotiable. A durable bike phone holder needs at least two independent systems keeping your phone attached — usually a clamp mechanism plus either a tether strap or a secondary lock. I’ve seen mounts where the primary clamp failed but the backup strap caught the phone. Saved a $900 device.
And the mount-to-handlebar connection needs to be stupid-strong. We’re talking metal hardware, not plastic clips. I prefer mounts that use two bolts instead of one because the load gets distributed. Single-bolt mounts can rotate under vibration, which gradually loosens everything until your phone’s pointing at your front tire.
Test the quick-release mechanism before you buy — some designs require two hands to remove the phone, which is a nightmare when you’re trying to snap a photo at a vista. But if it releases too easily? That’s worse. The sweet spot is a one-handed release that requires deliberate pressure.
One more thing nobody mentions: check how the mount handles bar diameter variations. Lots of gravel and mountain bikes use 31.8mm bars, but some use 35mm. A mount with shims or adjustable clamps works across multiple bikes. Saves you from buying duplicates.
Conclusion
So here’s what actually matters: get a durable bike phone holder with a secondary retention system and metal hardware. That’s it. Everything else is secondary to those two things. I’ve watched too many riders cheap out on mounts and lose phones on descents — don’t be that person.
Test the quick-release before you commit to anything. If it feels flimsy in the store, it’ll be worse after six months of road vibration and weather exposure.
And honestly? Buy once. A solid mount costs $40-60, which sounds steep until you remember your phone costs fifteen times that. The math works out pretty fast when you’re not replacing cracked screens.
Frequently Asked Questions
Q: What makes a bike phone holder actually durable?
A: Metal hardware and a secondary retention system — that’s what separates the real ones from the junk. Look for aluminum or steel clamps instead of plastic, and make sure there’s a backup strap or locking mechanism beyond just the grip arms. The $15 holders with all-plastic construction won’t survive a season of real riding.
Q: How tight should I mount my phone holder to the handlebars?
A: Tight enough that you can’t rotate it by hand, but not so tight you’re crushing your bars. I usually go about 75% of my max strength, then check it again after the first ride — vibration settles things in. If it’s moving at all during normal riding, you didn’t tighten it enough.
Q: Can a durable bike phone holder work with a thick phone case?
A: Most quality mounts handle cases up to 15-18mm thick, which covers basically everything except those absurd military-grade cases. Check the specs before buying though — some cheaper holders max out at 10mm and you’ll be fighting with the grip arms every time. OtterBox Defenders usually fit fine in decent mounts.
Q: Why do cheap phone holders break so fast on bikes?
A: Plastic degrades from UV exposure and constant vibration — it’s not built for the abuse. Road chatter at 20+ mph creates micro-fractures in cheap materials, and within three months you’ve got a mount that rattles loose or just snaps. Metal components last years because they don’t have the same fatigue issues.
Q: How much should I spend on a durable bike phone holder?
A: $40-60 for something that’ll actually last. I know it sounds like a lot, but you’re protecting a $900 phone — the math is pretty straightforward. Anything under $25 is almost always plastic junk that’ll fail when you need it most (usually mid-ride on rough terrain).
Q: Do I need different mounts for road bikes versus mountain bikes?
A: Not really, but mountain bike mounts need better shock absorption and more secure retention systems. The vibration from trail riding is way more intense than smooth pavement. A durable bike phone holder with good dampening works fine for both — just make sure it’s rated for off-road use if you’re hitting trails regularly.
Q: Will my phone overheat in direct sunlight while mounted?
A: Yeah, it can — especially on long summer rides in direct sun. Your phone’s working harder with GPS running, and the mount traps heat against the back. Some riders stick a small piece of reflective tape on their case or just flip the phone face-down when stopped for more than five minutes.
Q: How do I know if the quick-release mechanism is actually secure?
A: Hold the mount and try to yank your phone out without touching the release — if it comes free, walk away. A proper quick-release on a durable bike phone holder should require deliberate action (usually a squeeze or twist) while still being doable with one hand. Test it in the store before you buy.